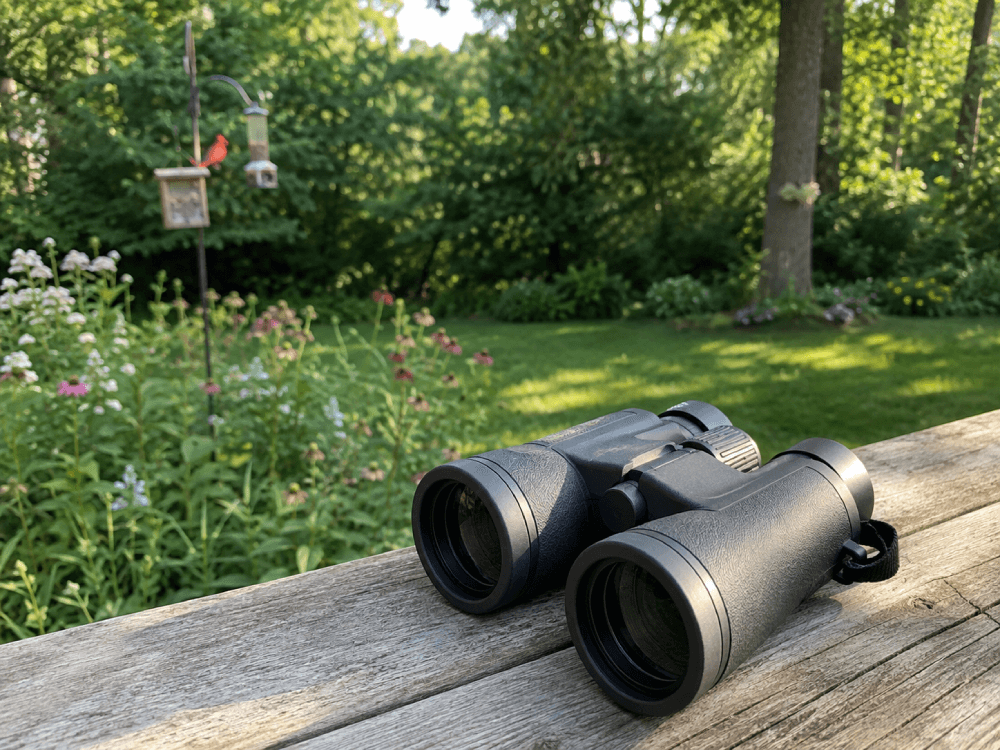
Picture this: You’re standing in your backyard, binoculars raised, trying to get a closer look at that bird perched on the feeder. You were convinced it was a rare species, only to realize you’re looking at a particularly rotund sparrow.
Sad day.
If your binoculars were up to par, maybe–just maybe–you’d have spotted and correctly identified that little feathered fraud much sooner. So how do you avoid making such a birdwatching faux pas?
Let’s dive into the wonderfully complicated–yet surprisingly fun–world of choosing the right binoculars. Seven steps from now, you’ll feel like an expert.
Step 1: Understand the Number (No, They’re Not a Secret Code)
Every pair of binoculars comes with two numbers, like 8×42 or 10×50. The first number is the magnification–how much closer your subject appears. The second number is the size of an objective lens (the big lenses at the end) in millimeters.
Bigger lenses let in more light, which is great for low-light situations, but they also make your binoculars heavier. Think of it as the Goldilocks principle: You want something just right for your needs. (If you like arm workouts during birdwatching, then go for the big boys!)
Step 2: Decide What You’re Using Them For
Binoculars aren’t one-size-fits-all. Are you birdwatching? (Yes!) Stargazing? (Maybe.) Spying on your neighbors? (Not recommended.) Each activity has its ideal specs:
- Birdwatching: 8×42 is the sweet spot. Good magnification and light-gathering without being too heavy.
- Stargazing: Go for 10×50 or higher. You’ll need more magnification and light for those twinkly wonders–and probably a tripod.
- Hiking: Compact binoculars (like 8×25) are your friend. Lightweight and easy to carry. This is why many binoculars owners actually own more than one pair.
Step 3: Check the Field of View (AKA How Much You Can See)
The field of view (often abbreviated FOV) is how wide an area you can see through your binoculars. It’s usually measured in feet at 1,000 yards. A wider field of view makes it easier to track fast-moving objects, like birds…or your toddler running away with your car keys.
If you’re focusing on something stationary, a narrower field of view is just fine.
We usually think of FOV as a left-and-right measurement, but realize that it also applies up-and-down. Really, all directions, which is important when trying to spot birds in flight.
Step 4: Test Drive Them (Yes, Seriously)
If you can, try before you buy. Head to a store and see how they feel in your hands.
- Are they comfortable?
- Do they fit your face?
- Are they too heavy?
It’s a little like dating–you’ll know when you’ve found “the one.”
Step 5: Consider Special Features (Because Who Doesn’t Love Extras?)
Some binoculars come with nifty add-ons like:
- Waterproofing: Great for rainy hikes or accidental dips in the lake.
- Fog-proofing: Keeps your lenses clear in humid conditions.
- Image stabilization: A game-changer if you have shaky hands. (Most of us do.)
Just know that, the more features, the higher the price. Thankfully, even less-expensive binoculars tend to have plenty of features these days.
Step 6: Set a Budget (and Stick To It)
Binoculars can cost anywhere from $50 to over $2,000. Do you need a $2,000 pair to watch birds in your backyard? Probably not. But if you’re planning a safari or getting serious about stargazing, it might be worth splurging. Just don’t sell your car for a pair unless you plan to live out of your binoculars’ carrying case.
At the other end, don’t go too cheap either. Extremely inexpensive binoculars aren’t going to please you very long. Either they’ll malfunction or simply break. Spend your money wisely for the long run.
Step 7: Don’t Forget the Accessories
A good pair of binoculars deserves some accessories. Think neck straps, lens caps, and a sturdy case. Many binoculars come with caps and a case, but you may want to upgrade the neck strap, if you even get one to start with.
If you’re going to spend time in the field, consider a tripod for extra stability. And, if your pair doesn’t come with one, get a lens cleaning cloth. Nothing ruins a good view faster than smudgy lenses. Happily, almost all binoculars come with a cloth in the package.
Conclusion: Choose Wisely, Grasshopper
Picking the right binoculars isn’t rocket science, but it does take some thought. Figure out your needs, test a few pairs, and don’t overthink it.
Even the fanciest binoculars won’t do you much good if you leave them in the closet. So get out there, explore, and remember: It’s not about the binoculars; it’s about the memories you make and the birds you’ll find while using them.
And ID-ing that fat sparrow? That’s just icing on the cake.